How to use AutoCalib
A step-by-step guide to running your first camera calibration — from image upload to downloading your results.
Click here for tips on images- Choose your lens modelSelect Pinhole for standard lenses or Fisheye for wide-angle/fisheye lenses.
- Add imagesDrag and drop image files onto the upload area, or click it to open a file browser. You can upload between 4 and 30 images per run — around 10 well-varied shots is a good starting point for most scenes.
- Or upload a ROS bagSwitch to the "ROS Bag" toggle to upload a recording instead of individual images — both ROS1 (.bag) and ROS2 (.db3, .mcap) formats are supported. Enter the exact name of the image topic (e.g. /camera/image_raw, publishing sensor_msgs/Image or sensor_msgs/CompressedImage) and how many frames to extract (up to 30); frames are sampled evenly across the recording and dropped straight into the reference step below, just like manually uploaded images.
- How to collect your shotsPick one roughly straight-on shot to use as the reference image (see step 2). For the rest, tilt the camera — pitching up and down, yawing left and right, in both directions — and reposition it as needed to keep the target in frame; let the target land in different parts of the image across your shots. Varying the distance helps too, but pair it with a tilted shot rather than a straight-on one: at a fixed straight-on angle, distance is hard for the algorithm to tell apart from focal length. Rolling the camera isn't necessary.
- Consent checkboxesYou must confirm consent to use images for calibration and agree to the Terms of Service.
- Start uploadClick "Start upload". Each image shows its own progress. Remove any image with the × button before starting.
- Wait for uploads to finishA warning banner appears if you try to proceed while images are still uploading. Each thumbnail shows its status: Uploading, Uploaded, or Failed.
- Browse thumbnailsClick any thumbnail to open a full-size lightbox. Use the ← → arrows to navigate between images.
- Pick the best imageChoose the sharpest image where the flat calibration target covers as much of the frame as possible — it doesn't need to reach the very edges, since you'll mark the exact region to use in the next step. This image must also be shot roughly straight-on, with the camera close to perpendicular to the target — it doesn't need to be exact, but a clearly tilted reference image will cause calibration to fail or produce inaccurate results.
- Confirm selectionClick "Select as reference" inside the lightbox. The selected image gets a bold border in the thumbnail grid.
- Draw the areaClick on the image to place corners; AutoCalib connects them into a polygon as you go. A simple shape with just a few corners is enough — it just needs to stay inside the flat surface and cover a large part of the image.
- Area size and placementDraw the polygon so it lies entirely inside the flat, textured region of the calibration target — it doesn't need to trace the boundary tightly or precisely, but it must not spill past the edge of the flat surface onto anything else. What matters most is that the marked area covers a large fraction of the reference image, rather than a small patch in the middle.
- Save & startOnce you're happy with the marked area, click "Save area & start". The pipeline launches automatically.
- Watch progressThe dashboard shows live status, progress, and the calibrated Camera Intrinsics.
- DownloadWhen status shows Finished, download the calibration as a JSON file.
- Multiple runsUse "+ New calibration" in the sidebar to start another run at any time.
Tips & Best Practices
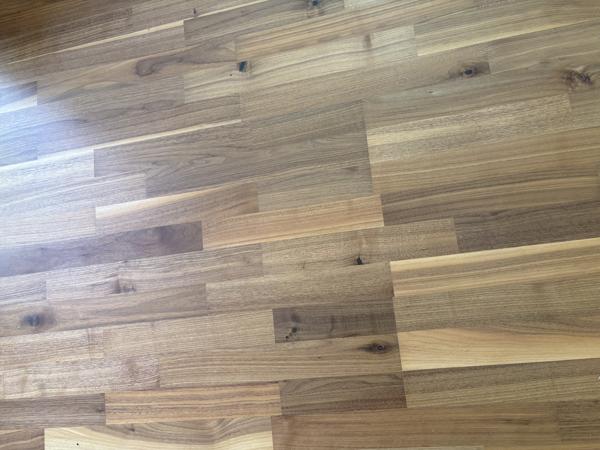
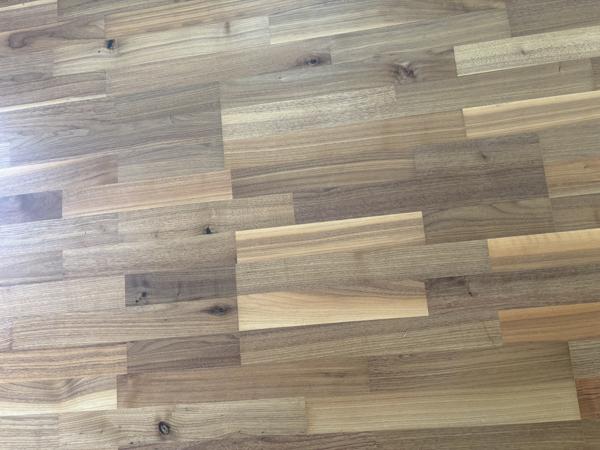
The calibration target must be a flat, rigid surface with clear, visible texture. Avoid shiny, reflective, or featureless surfaces — the algorithm needs distinct visual features to track.
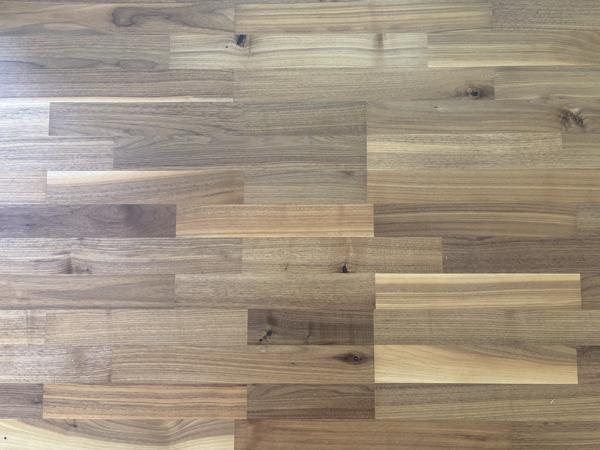 ✓
✓
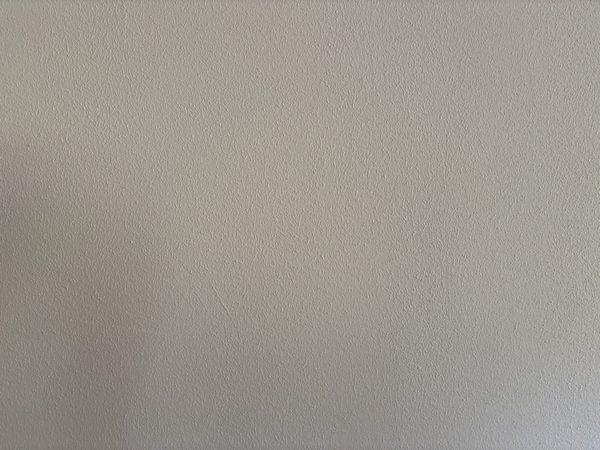 ✗
✗
Shoot the reference image with the camera's optical axis roughly perpendicular to the target plane — it doesn't need to be exact, just close, no need to fuss over it with a level or tripod. This is still a real requirement, not just a suggestion: calibration will fail or become inaccurate if the reference image is noticeably tilted, since it is the geometric anchor for the entire calibration. Frame it so the flat target fills as much of the image as possible — it doesn't need to reach the very edges, since you'll mark the exact region to use in a later step, but the more of the frame it covers, the better. Pick a target that's physically large enough to fill the frame at a comfortable distance, rather than getting there by shooting a close-up: the reference shot is typically also the one you focus on, and since focus should stay fixed for the whole set, locking it at a close distance can leave your other images — taken from farther away — outside the depth of field and blurry.
✓
 ✗
✗
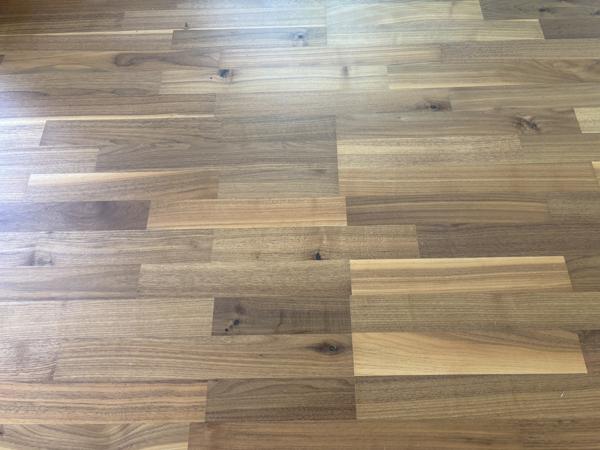
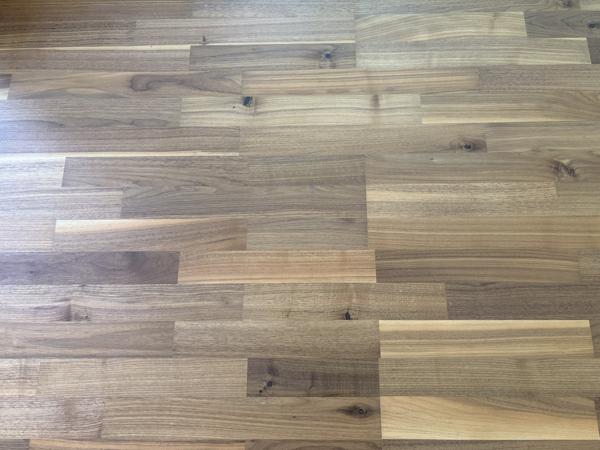
Other images should tilt the camera: pitch up and down (rotating around the horizontal axis) and yaw left and right (rotating around the vertical axis), covering both directions of each. Tilting on its own can swing the target out of frame, so reposition the camera as you tilt to keep it in view — and let the target land in different parts of the image across your shots, not always centered. Varying the distance is valuable too, but pair it with a tilted shot rather than a straight-on one: at a fixed straight-on angle, moving closer or farther is hard for the algorithm to distinguish from a change in focal length. Rolling the camera around the optical axis isn't necessary — unlike pitch and yaw, it doesn't add new geometric information.
 ✓
✓
 ✓
✓
 ✓
✓
Every image in a run — including the reference image — must be shot at the exact same focal length. Do not zoom in or out (optically or digitally) between shots; move the camera itself instead. Changing the zoom mid-set changes the very intrinsics AutoCalib is trying to measure, and calibration will be inaccurate or fail outright. Refocusing is a milder version of the same problem — it shifts internal lens elements too, which can subtly change the focal length and distortion ("focus breathing"). Where possible, lock focus manually and use a smaller aperture (higher f-number) for a deeper depth of field, so your target stays acceptably sharp across your range of shooting distances without needing to refocus.
Lens distortion is strongest near the edges and corners of the image, not the center. Across your set of shots, let the calibration target fall in different parts of the frame — near the top, bottom, left, and right edges, not only centered every time — so the algorithm has data to measure distortion across the entire image, not just the middle.
Many smartphones and some digital cameras automatically straighten out lens distortion in software before saving the photo, using their own internal camera model. This bakes an unknown, camera-specific correction into every image — one that competes with the distortion AutoCalib is trying to measure, and can be applied slightly differently shot to shot. If your camera exposes a setting for lens or distortion correction, turn it off — most phones do not. The more reliable alternative is to shoot in RAW (DNG) format and disable lens-profile corrections in your RAW-processing software before exporting to JPEG/PNG.